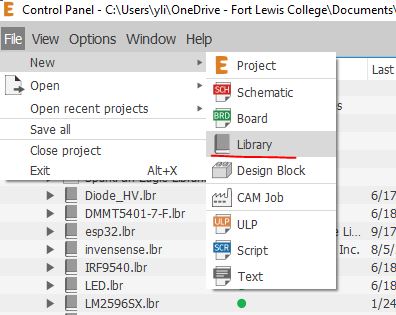
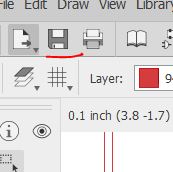
Schematic frame/sheet in Eagle PCB
Download this Eagle Library files and the SparkFun Library, place it in your Eagle Library folder on your hardrive.
Go through this tutorial if you are not familiar with how to incorporate libraries into Eagle.
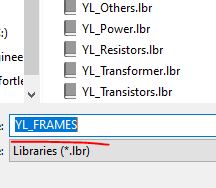
Save it

Give a name to the library
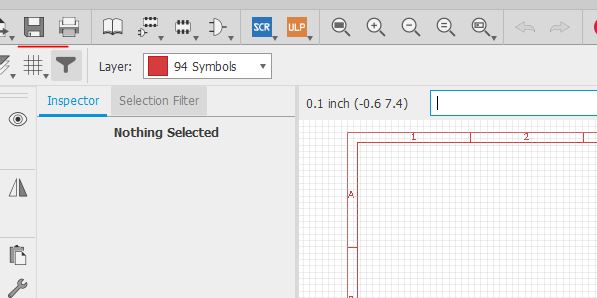
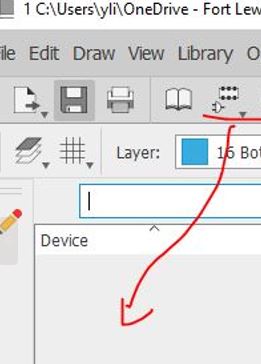
In the main Eagle window, double click the library to open it.
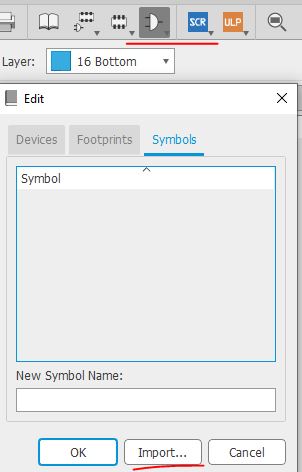
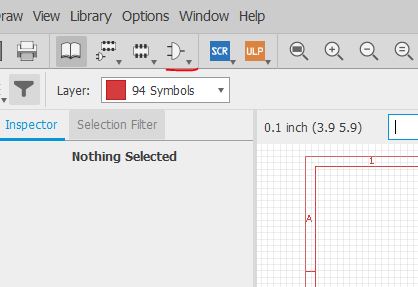
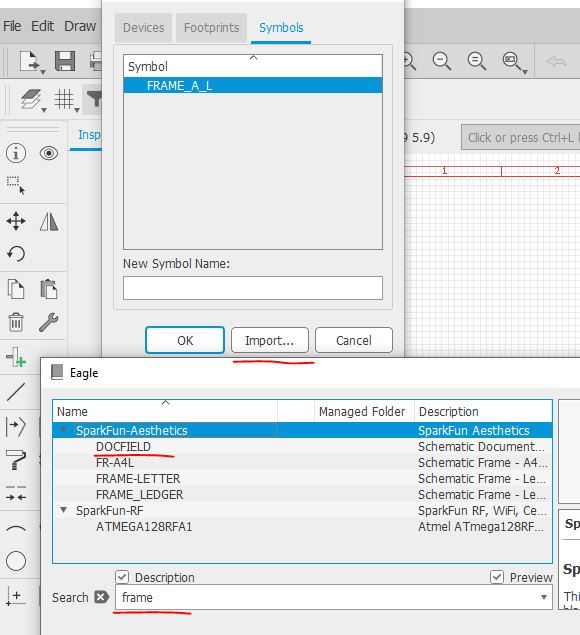
Import
the symbols from the libraries you just downloaded to you newly created
library so you can modify it and assemble them into a device for the
use in your own schematic.
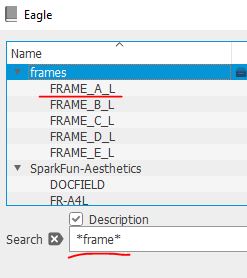
From the Eagle Library files, search for *frame*
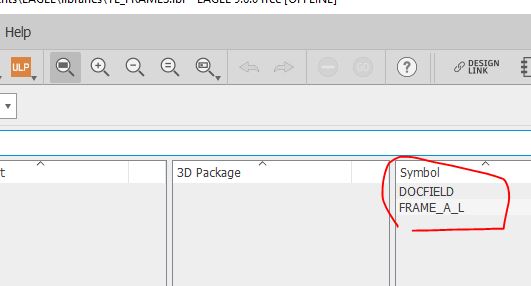
Click the symbol button again to load the DOCFIELD.
Now both the frame and the DOCFIELD are imported to your library as two separate symbols.
Re-open your library.
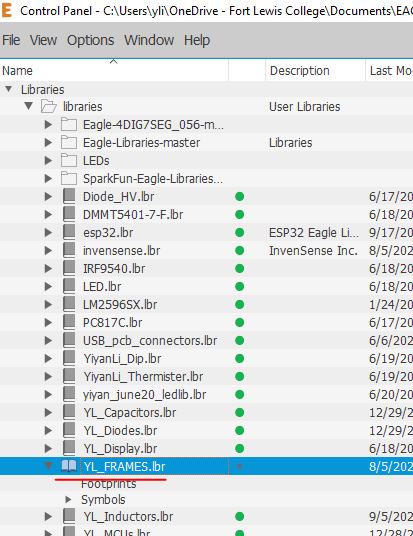
You can see these two separate symbols.
Double
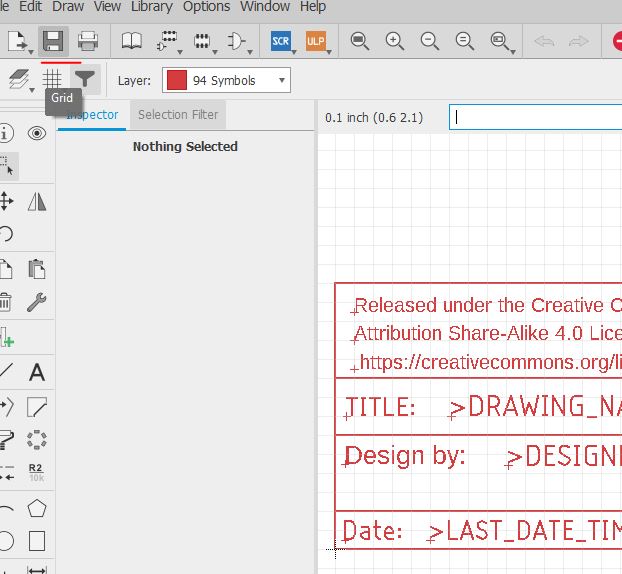
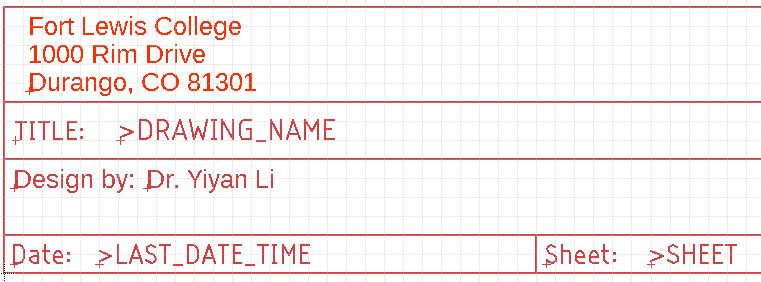
click the DOCFIELD to make the following changes. Please note that the
REV one might not be an editable variable. In eagle, the following
variables work.
Text Variables
>NAME Component name (ev.+gate name) 1)
>VALUE Comp. value/type 1)
>PART Component name 2)
>GATE Gate name 2)
>DRAWING_NAME Drawing name
>LAST_DATE_TIME Time of the last modification
>PLOT_DATE_TIME Time of the plot creation
>SHEET Sheet number of schematic 3)
1) Only for package or symbol
2) Only for symbol
3) Only for symbol or schematic
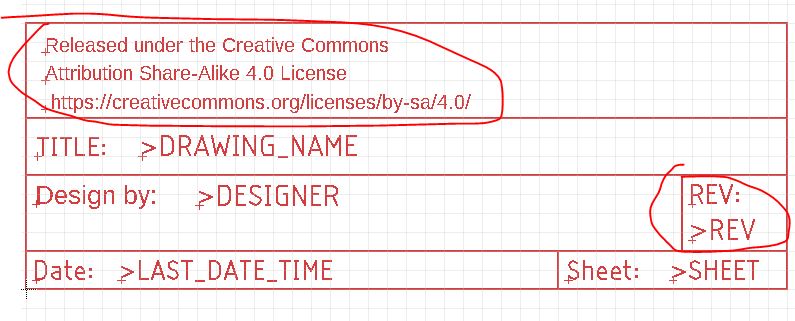
This is my version of it.
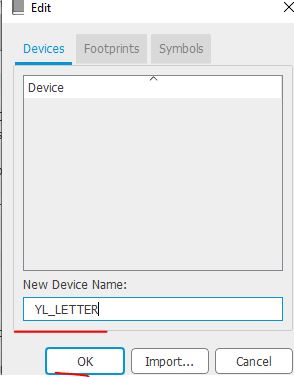
Create a device to combine these two symbols into the device. (click the device button).
Give a name to the new device.
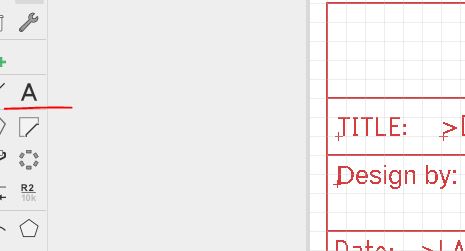
Add them to the symbol view one each time.

Put them in place.

Save the device.
Go to you schematic to try to add the new frame.
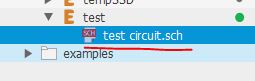
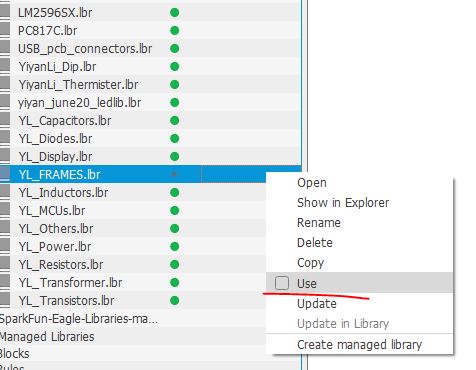
Use the library so you can add it to the schematic.