Crystal violet
Iodine
Safranin
Ethanol
Microscope slides
Bunsen burner
Sharpie
Culture to image
1. Gather materials and diagram what specimens you are going to stain. You can fit up to 8 specimens on one slide. Use a Sharpie to mark the slide.
2a. For solid cultures, pipette 10uL of sterile water onto the slide in droplets for each specimen you will have. Using a sterile inoculation loop, grad a colony from your petri dish and lightly tap the loop into the water droplet. LESS IS MORE! Continue until all specimens have been plated.
3. Allow the samples to fully dry (~10 minutes).
4. Heat shock the slide by passing it through the Bunsen burner flame quickly (~1 sec) 3 times.
5. Lay down paper towels on the bench in case you spill.
6. Cover each sample with crystal violet. Allow to sit for 1 minute. Rinse into a waste jar using DI water.
7. Repeat Step 6, but with iodine instead of crystal violet.
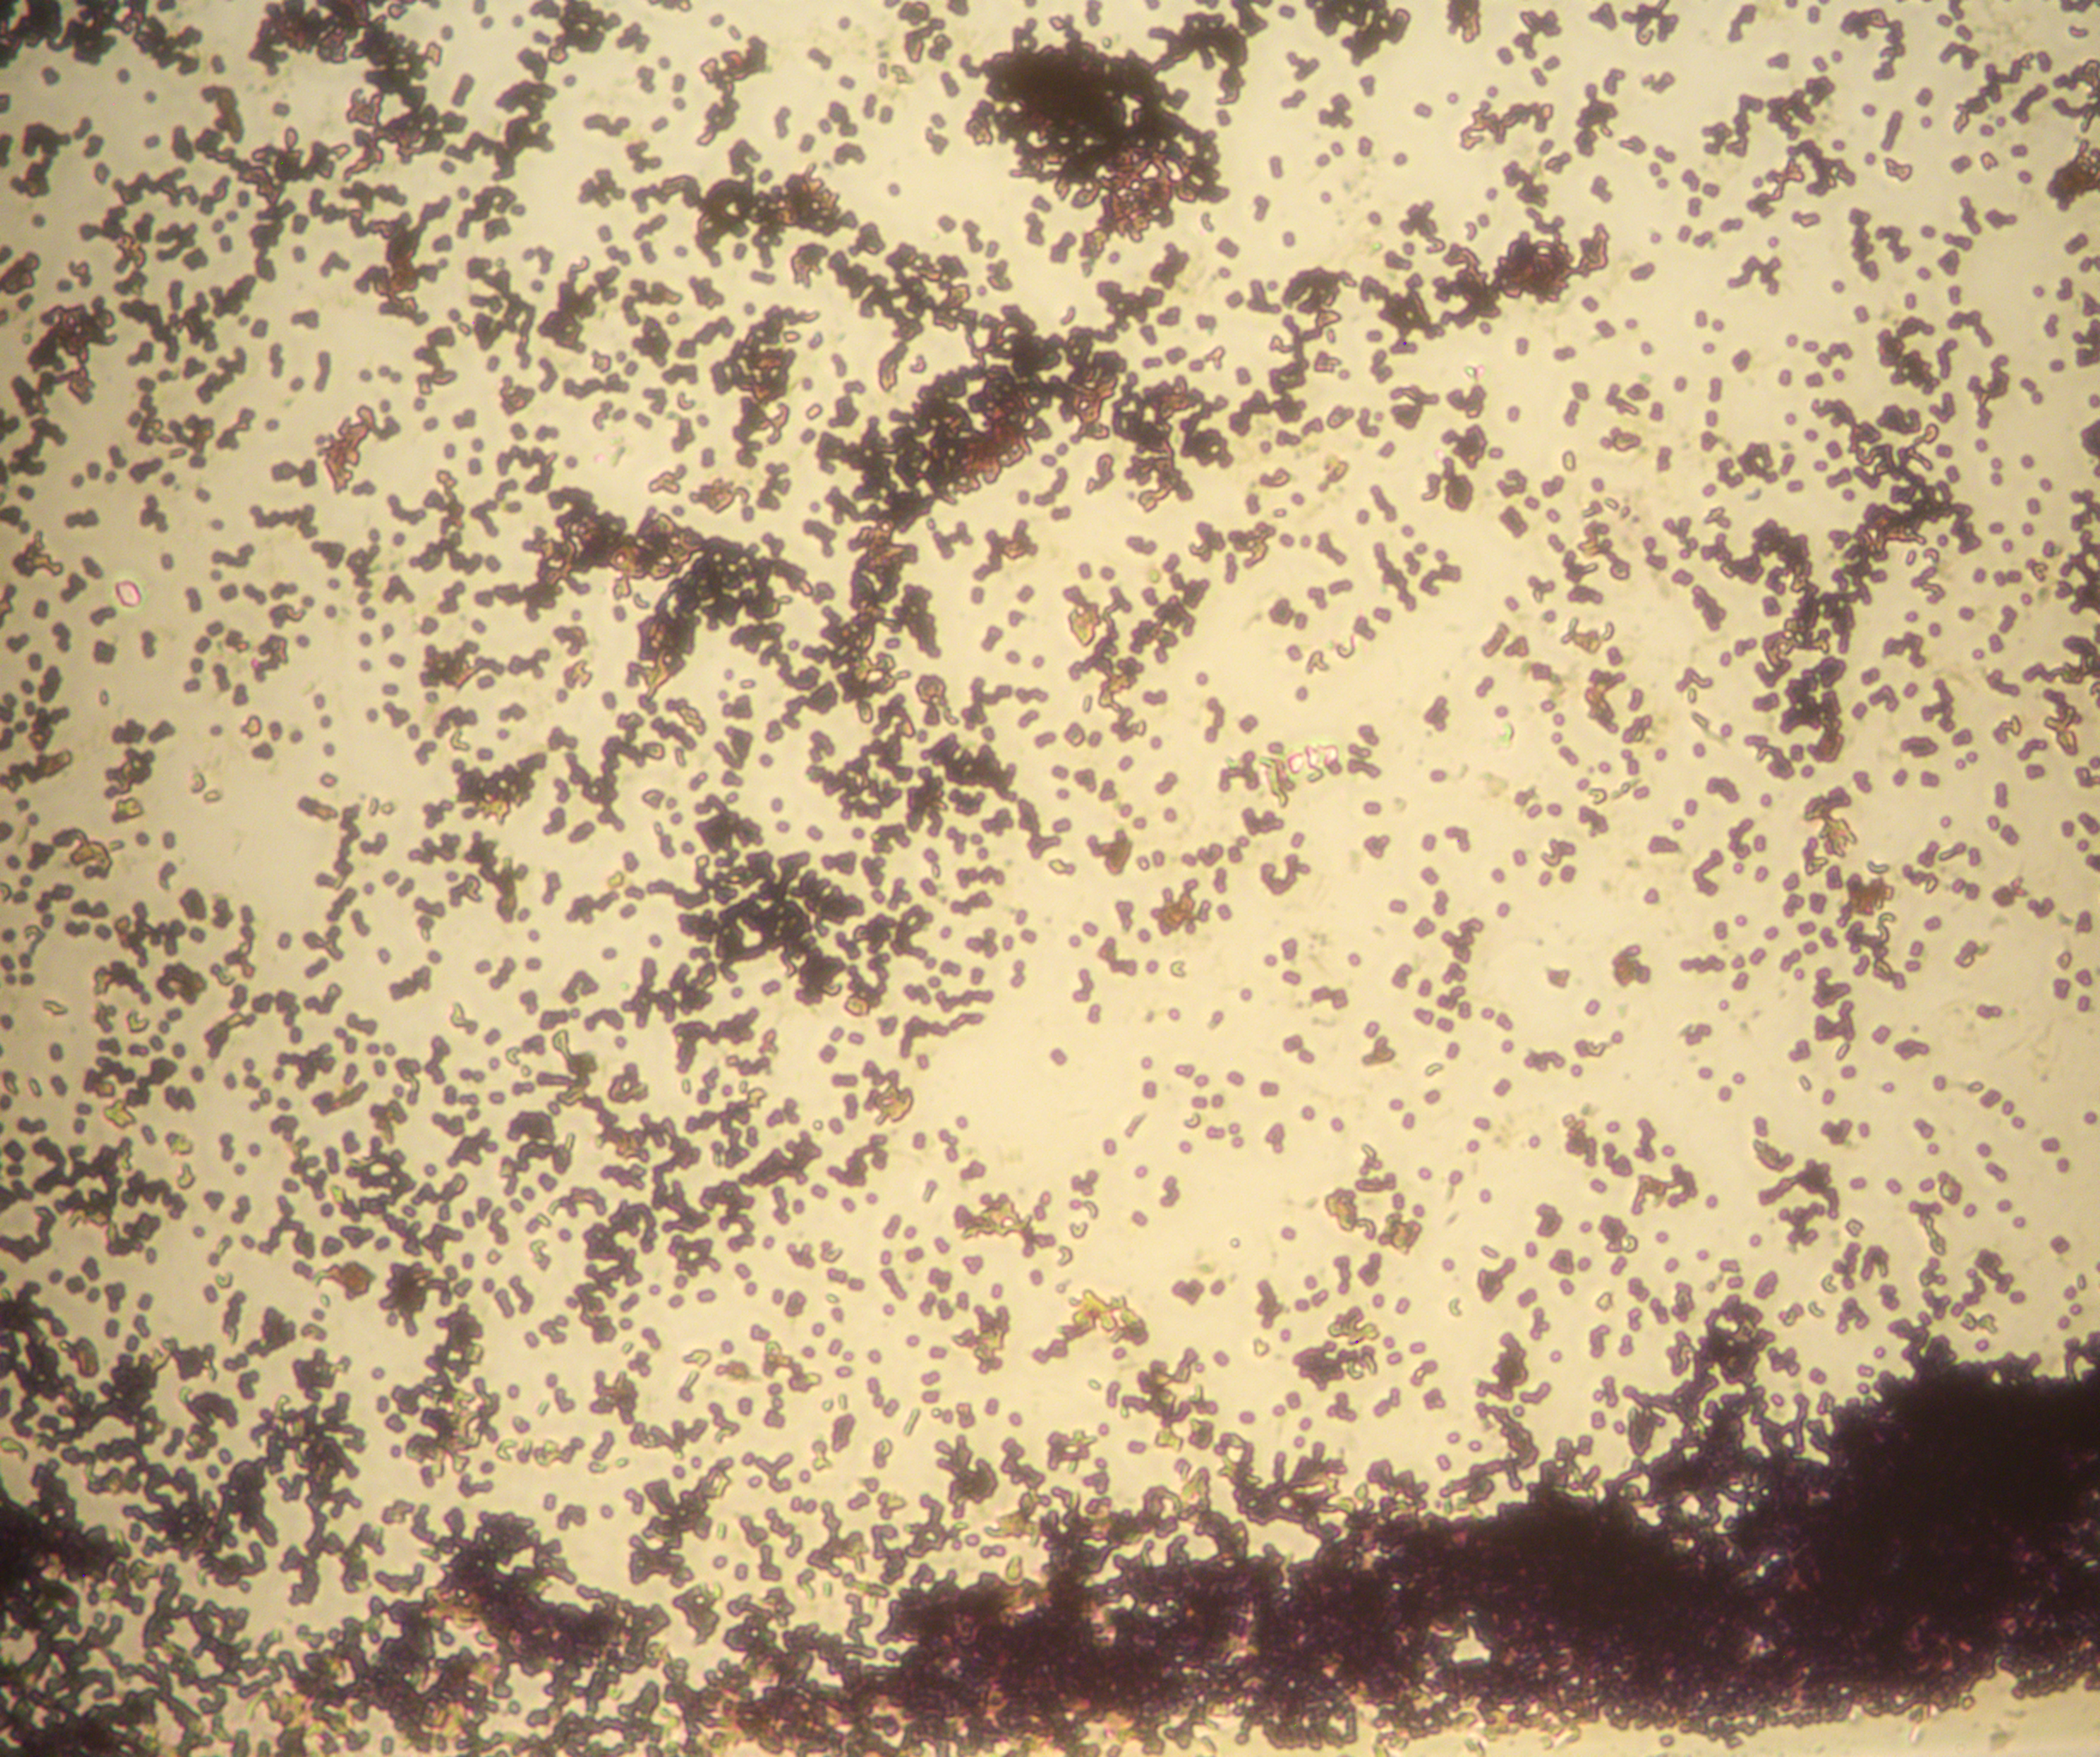
8. Rinse the slide with ethanol until no purple dye is washing away. Do not overdo this step, you can wash away true Gram-positive stain.
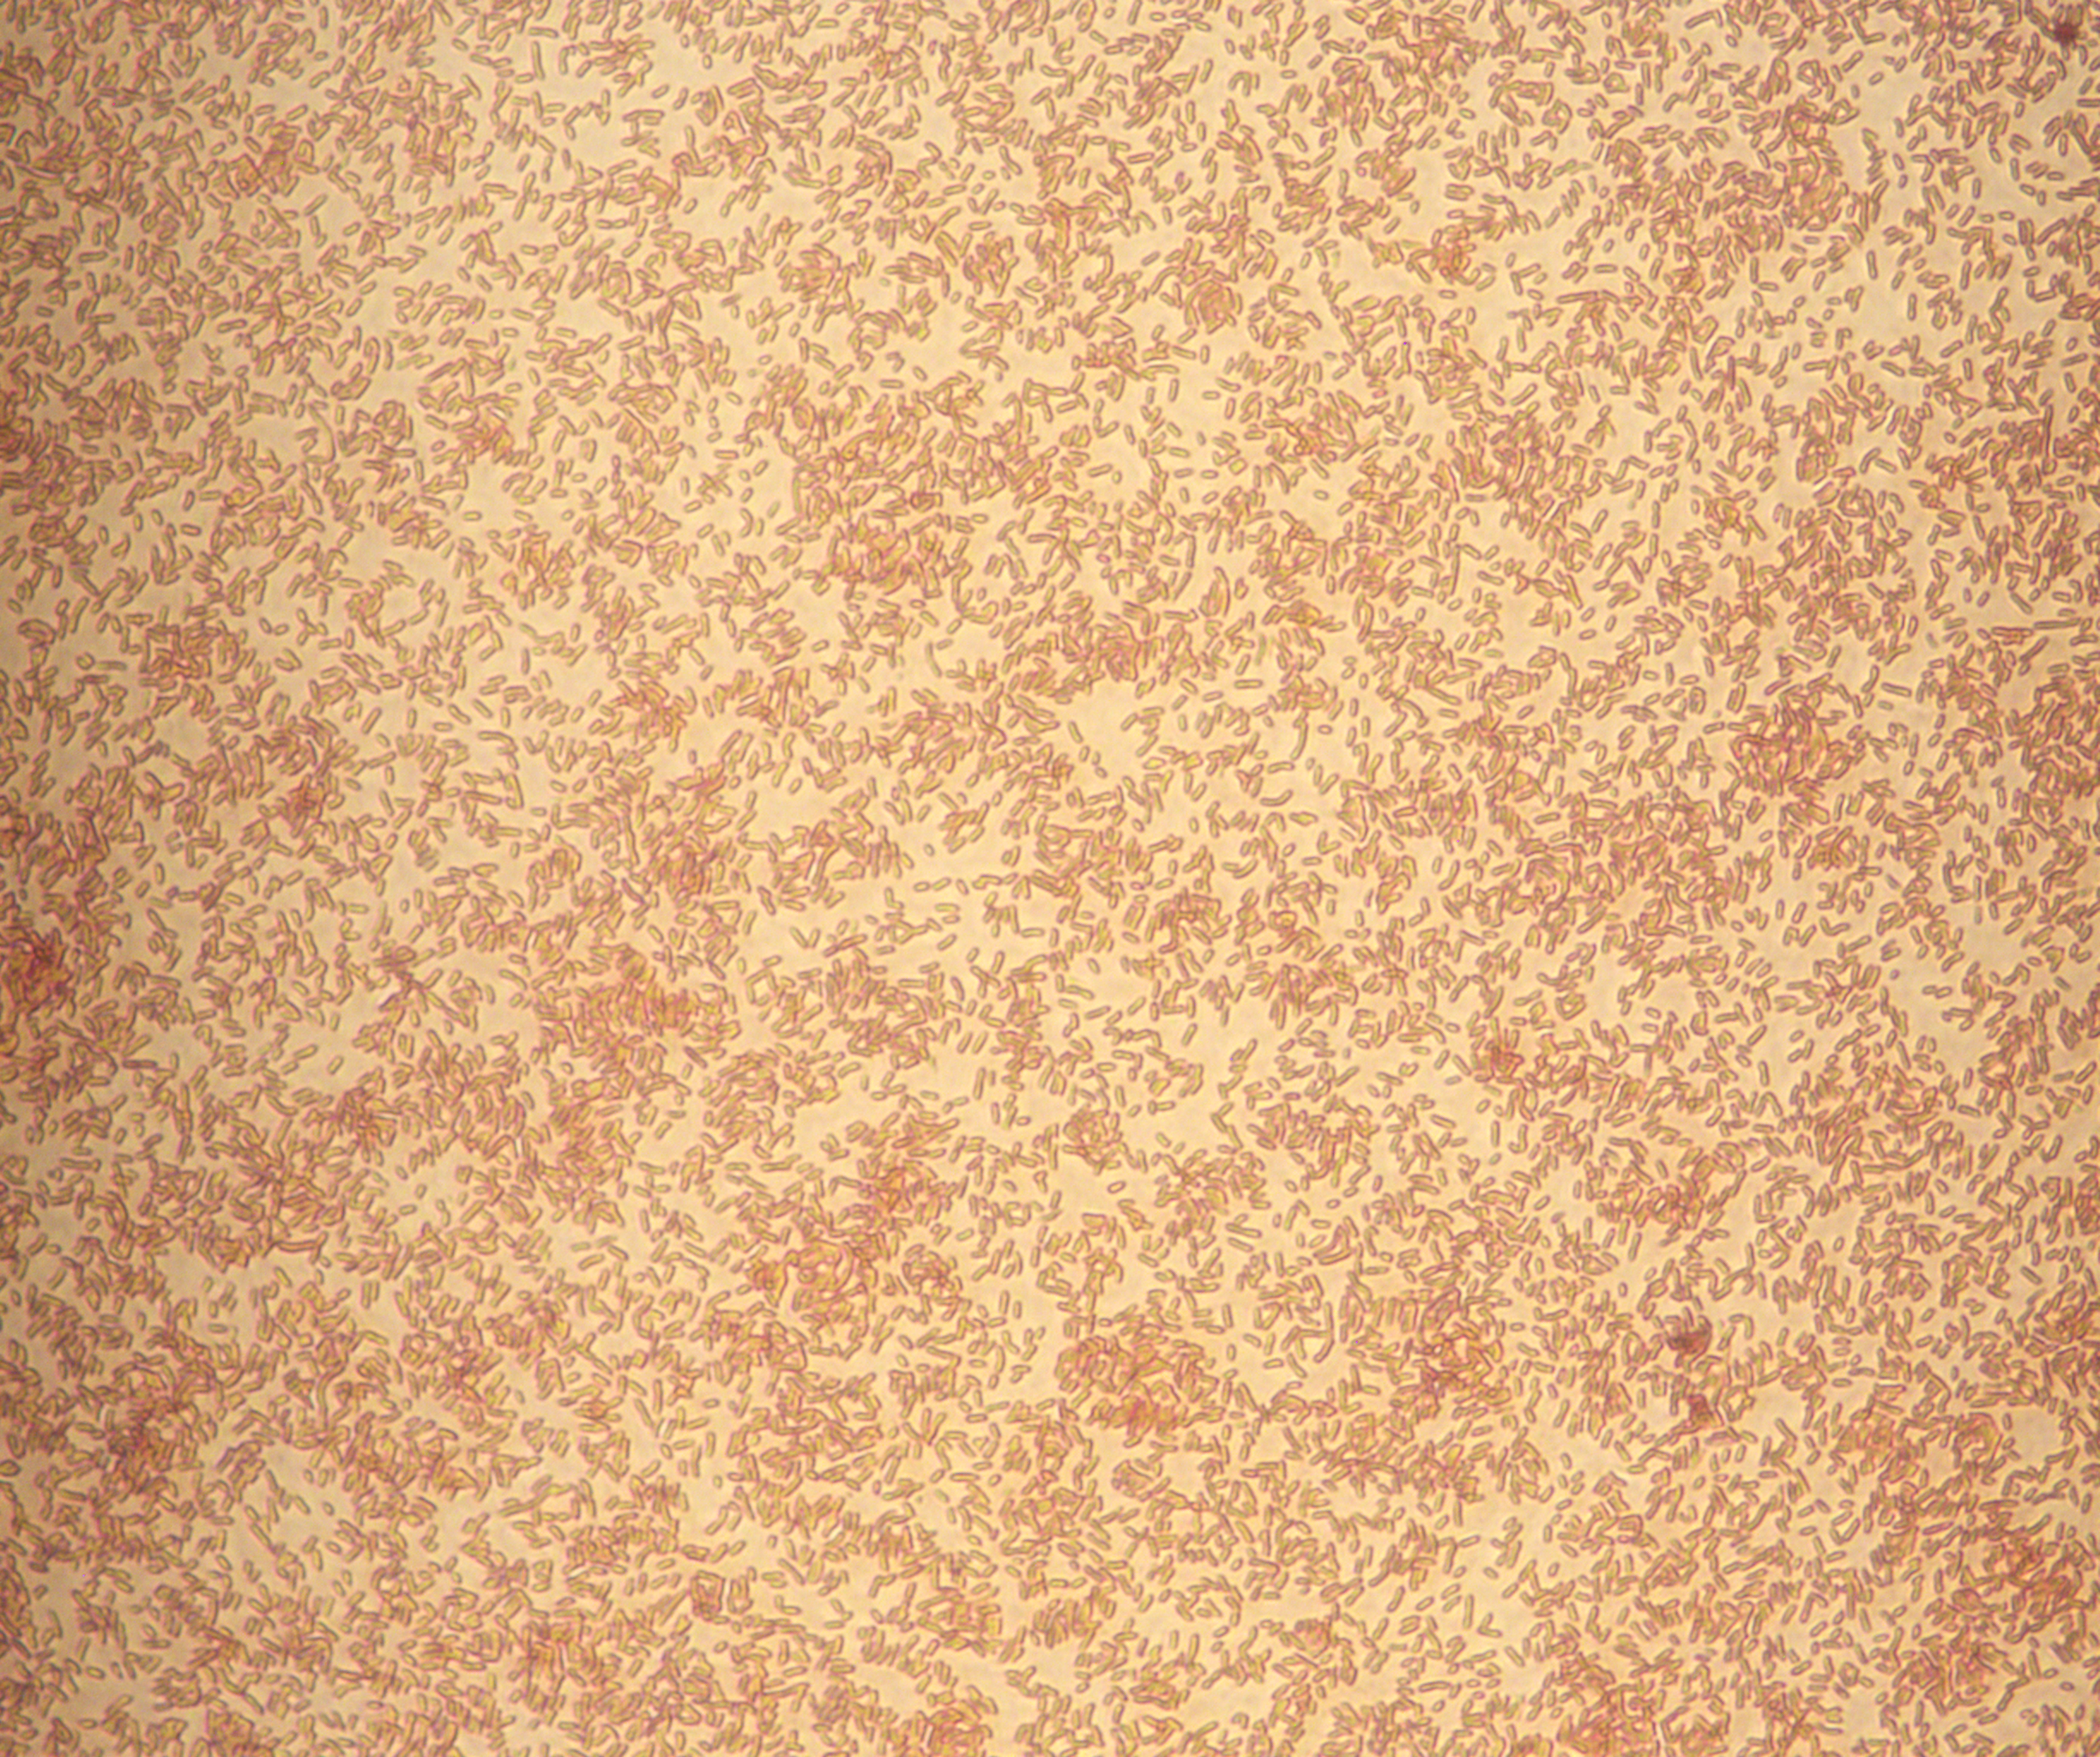
9. Repeat Step 7 with safranin instead of iodine.
10. Allow the slide to fully dry before using the microscope.
1. Turn on the microscope lightbulb and open the AmScope software on the desktop. Plug in the camera USB to the computer. Select the camera.
2. Using the calibration slide, calibrate the scale on the AmScope software for 40X objective.
3. Select the 4X lens and place your slide over the lens. Focus the image. Then, select the 10X lens and refocus. Finally, select the 40X objective lens and focus the specimen. Throughout, use the ocular lens to view the specimen and move the slide around to get the best view of the specimen possible.
4. Move the viewing bar to the camera so you can see the image on the computer. In the software, select “SNAP” to take a picture. Label the image so you can remember the sample and date taken.
5. Repeat these steps for all samples.
6. Upload all images to a workable location.
These chemicals are extremely harmful to the environment, so you should NOT dump any waste in the drain! Retain waste in a glass jar and bring to the Biology department for disposal.