CE432 Robotics II
Fall 2021
Tutorial 2: ESP32-CAM
Humberto Arredondo
harredondoperez@fortlewis.com
Using ESP32-CAM
1.- Introduction
In this tutorial the students were assigned to do more tasks using the
ESP32-CAM module. Examples the students did were all related to the use
of the camera such as taking pictures, video and saving them into the
SD card locally and using the Web Server.
The equipment and materials used for this tutorial was:
- Power Supply
- Breadboard
- ESP32-CAM
- FTDI Cable
- Push Button
- Jumper Cables
- 10k Resistor
- External Antenna
- SD card
2.-
Methods and Results
Task 1, 2, 3
For this tasks, the ESP32-CAM camera was paired up to take
pictures by it self every 10 seconds as seen in Figure 1. Then the code
was changed to add the time Stamp to the pictures showed in Figure 2.
The picture names were also shown in the Serial Monitor. In Figure 3
the actual pictures taken by pushing the Push button are shown. In
Rui's Book, is recommended to use the pin GPIO 16 as the best option
due to the other pins been used for the camera's connections. Code for
this is also provided in the same book.
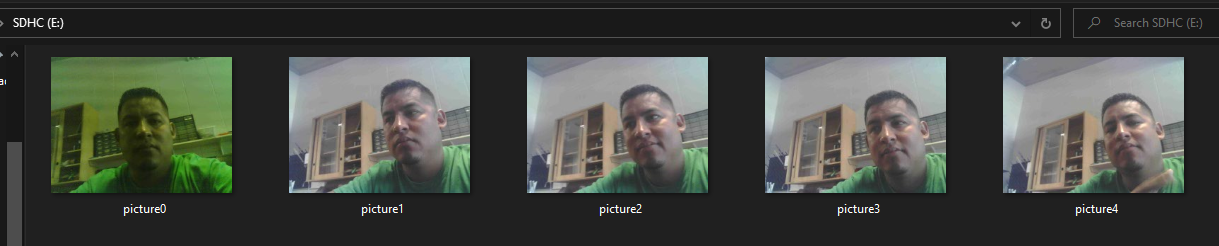
Figure 1. Images taken by the ESP32-CAM, noticed the first picture is not that good (will be fix later).

Figure 2. Images shown a name changed from Figure 1. The date and time stamp was used here.

Figure 3. Pictures taken using a push button.
Task 4, 5, 6, 7 & 8
For task 4, A webserver was used to take pictures, for this action, the
librarys of ESPAsyncWebServer and the AsyncTCP were installed in
the Arduino IDE. Code from Rui's book was used for this
tasks, but some changes needed to be done. After adding the WiFi
credentials to the code, the IP address was obtained from the Serial
Monitor and copied to the browser. In fugure 4, the menu displayed in
the web server is shown. The SD card option to delete pictures was used
in the web server and also the name of the photos were changed for
example, from photo1 to photo_date_time (Figure 5). The next task was
to take pictures and sent them via email. For this we needed to create
a new email account so any problem could not mess with the personal
email. Once new email was created, the allow less security app was turn
on and the instructions for modifying the code were followed from Rui's
book. After the code was loaded, and the ESP32-CAM reset, and email
with a image was recived (Figure 6). The next task was to use the Web
Server to take a picture and email it. And for the last task, Telegram
app was used to control the ESP32-CAM by sending comands such as turn
the flash light on, take a picture, etc. (Figure 8).
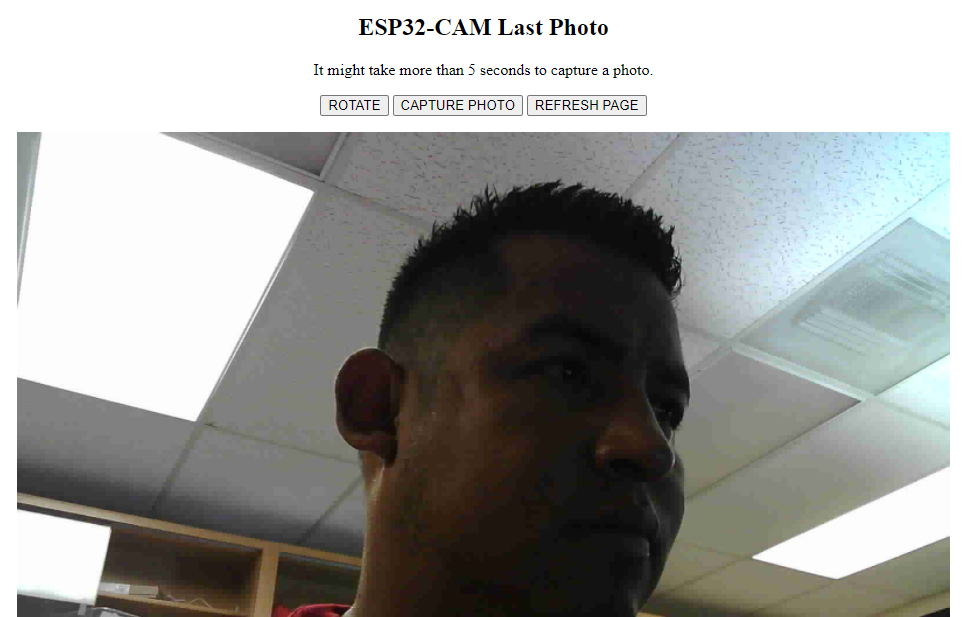
Figure 4. Picture taken from the web server using the capture picture button.
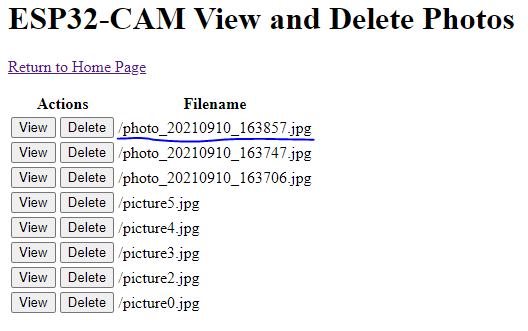
Figure 5. ESP32-CAM View and delete pictures on the Web Server.
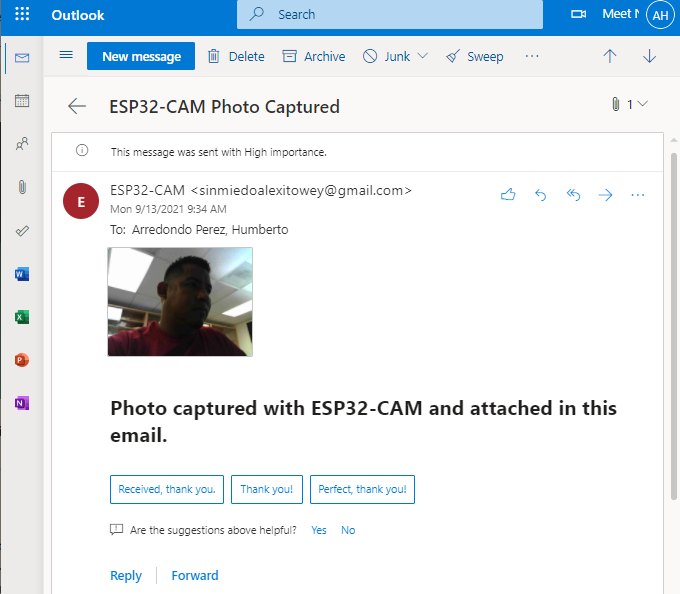
Figure 6. Image recieved by email.

Figure 7. Photo taken and sent it from the Web Server.

Figure 7. Screenshot take from a cellphone device showing the communication comands on the Telegram App.
Discussion:
The ESP32-CAM is an incredible module device that can do lots of
different tasks. The students were able to take pictures from the
module it self automatically, by using a push button, by using
the Web Server and by using the Telegram App. Definitely a worth module
that has WiFi options and that is easy to use. After this tutorial,
studends might be tempted to make their own security system. In Figure
8, the absent of a picture is noticed, this was due to getting the
frame on time. More debbuging will be done in the future.